
Personal Email Settings Have Changed.
These are the updated email settings:
Your username and password have not changed. For most, the username is wp, such as wp46268.
However, when setting up or updating your email program, you must now enter your full email address as your username. For most users, the username is:
wp<cullum #>@west-point.org
For example:
wp46268@west-point.org
Previously, you may have been able to log in using only wp46268. Going forward, use the full email address, including @west-point.org.
- Email address:
<username>@west-point.org - Password: Your existing WP-ORG email password
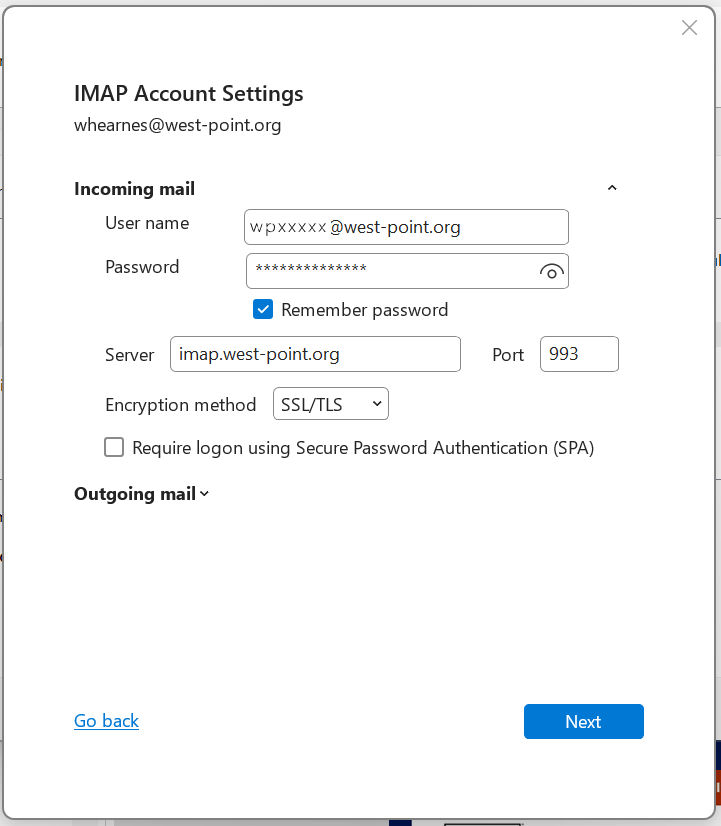
Most users should use IMAP for incoming mail and SMTP for outgoing mail.
Incoming Mail — IMAP
- Server:
imaps.west-point.org - Port:
993 - Connection security:
SSL/TLS - Authentication method:
Normal Password - Username: Your full email address, such as
wp46268@west-point.org
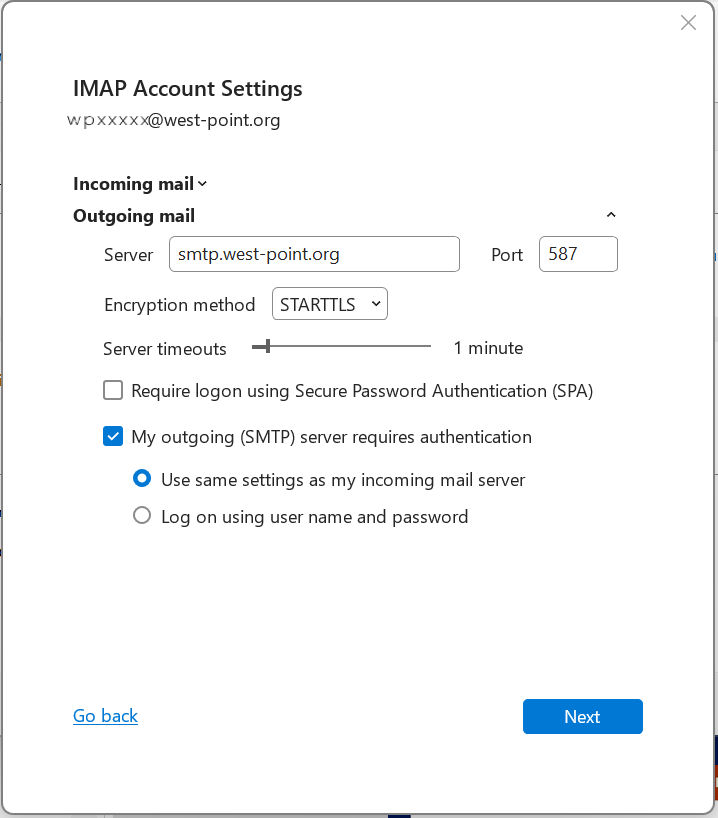
Outgoing Mail — SMTP
- Server:
smtps.west-point.org - Port:
587 - Connection security:
STARTTLS - Authentication method:
Normal Password - Username: Your full email address, such as
wp46268@west-point.org
POP Settings — Only If Needed
Most users should not use POP. Use POP only if you have an older setup or a service such as Gmail that retrieves mail from your WP-ORG mailbox using POP.
Incoming Mail — POP
- Server:
pops.west-point.org - Port:
995 - Connection security:
SSL/TLS - Authentication method:
Normal Password - Username: Your full email address, such as
wp46268@west-point.org
Outgoing Mail — SMTP
- Server:
smtps.west-point.org - Port:
587 - Connection security:
STARTTLS - Authentication method:
Normal Password - Username: Your full email address, such as
wp46268@west-point.org
Contact us for further assistance: feedback@west-point.org
Setting up your WP-ORG account on Gmail:
-Open up your browser and go to http://www.gmail.com and login. -Click on Settings link in the top right corner of your Gmail account under the gear icon.
-Click on the Accounts tab.
-Click on the button called Add a POP3 mail account you own.
-A new popup should display like below prompting you for your email address.
Your email address will be your email account name, followed by an ‘@’ symbol and then your domain name. So if your account name is “you” and your domain is west-point.org, then your email address would be you@west-point.org.
Type in your email address and press “Next Step” button.
Next will be the email settings page. This is the page where you will actually be able to setup your email account
E-mail Address: This is your actual email address that will be used (you@west-point.org).
Username: The username will be your full email address (you@west-point.org).
Password: The password is the same password that you used when creating your WP-ORG email account.
POP Server: This is the server when all your emails are stored. The server address will be pops.west-point.org
POP Port: This is the port number used when contacting the POP server – port 995 w/ssl
Leave a copy of retrieved message on the server: Ticking this option will either leave your email in your POP server after you have read them (ticked) or remove them from your POP after reading (unticked).
Label incoming messages: This is the label used when reading your emails within Google.
Archive incoming messages: This will take a backup copy of all emails read within Google.
Fill in the email settings form and press the “Add Account” button to add your account to your Google account.
Now you will have the choice to send email from your wp-org email address through Gmail.
Select: Yes, I want to be able to send mail as..
Click: Next Step enter the name that you want to appear when you send people email.
Click: Next Step Here you will have the option of using Gmail’s SMTP server. You can use this, but you could also use our SMTP server (587). Select: Send through Gmail
Click: Next Step Click on the button: Send Verification
You will now be asked for a confirmation code in order to complete this setup. Go back to >Settings > Accounts & Import, Then click on the link ‘Check mail now’
You will then receive an email with your confirmation code. Copy & Paste that confirmation code into the box, and click on the button called ‘Verify’
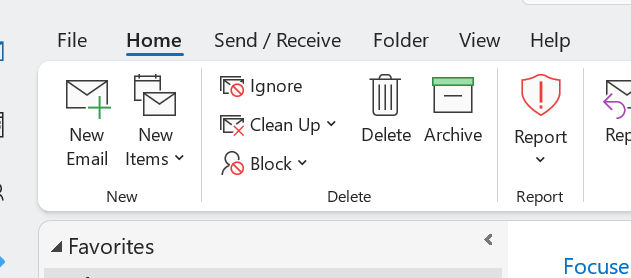
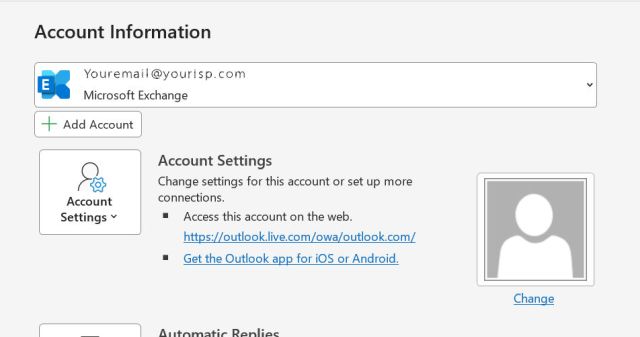
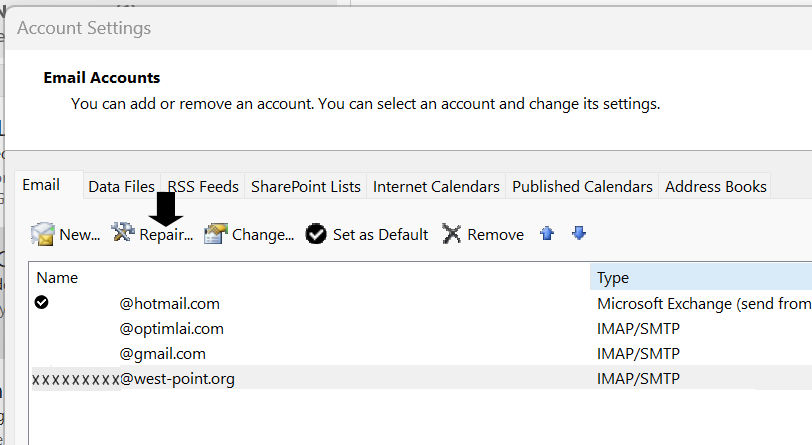
OUTLOOK EMAIL HELP
We do not support the most current version of Outlook.
If you are having trouble configuring outlook, please try a email repair, rather than setting changes:

Contact us for further assistance: feedback@west-point.org